As in my previous post I have shared some working Cisco IOS for GNS3, now I am going to show you how to use those with the latest version of GNS3 which can be downloaded from GNS3’s official website. The IOS must be compatible with GNS3 and can be added to it by following the simple steps.
- Download GNS3 from www.gns3.net.
- Install it along with Wireshark, Winpcap and Virtual Box(optional).
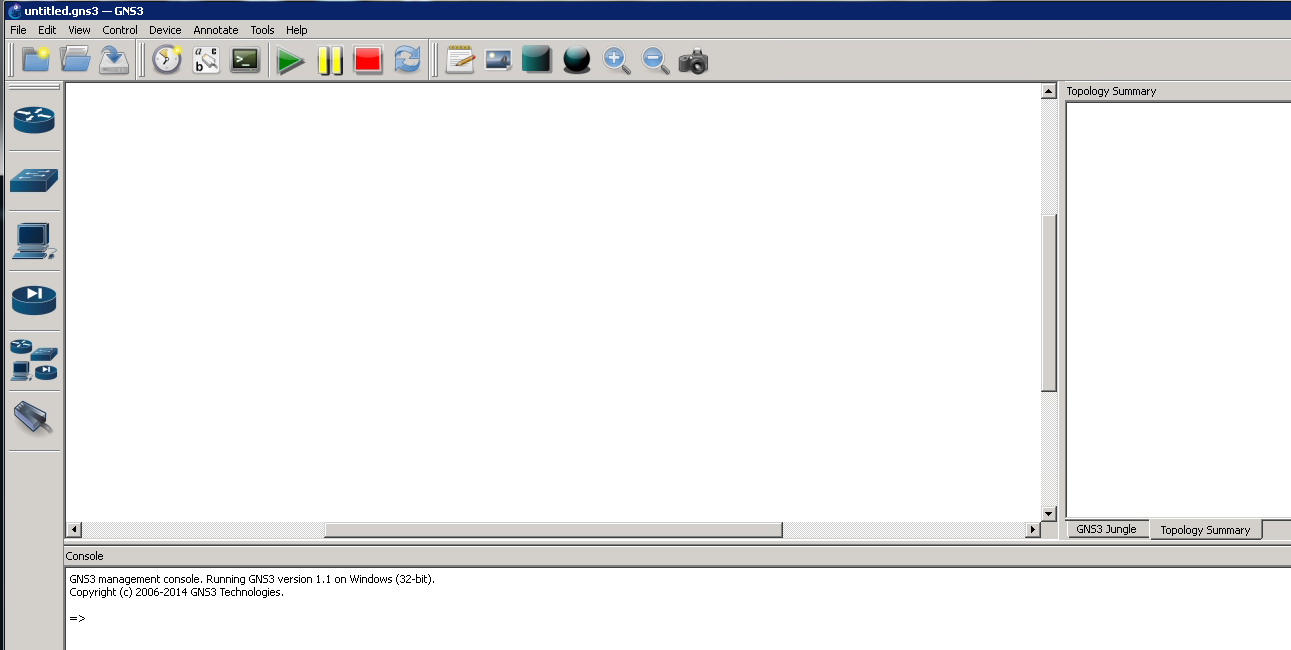
- Run GNS3.
- Go to Edit -> Preferences.

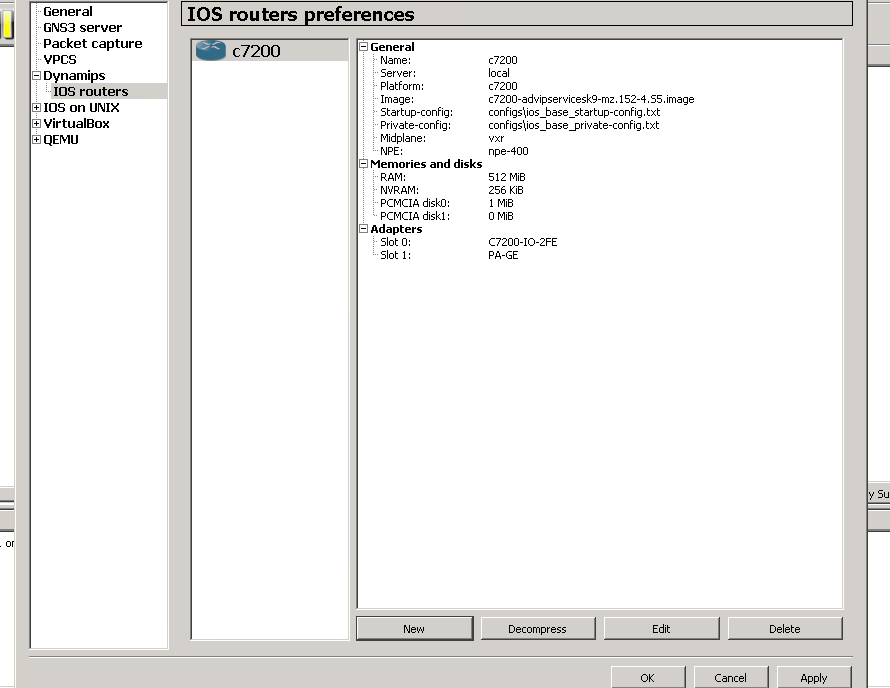
- Expand Dynamips . Click IOS Routers.
- Click New. Then click browse.
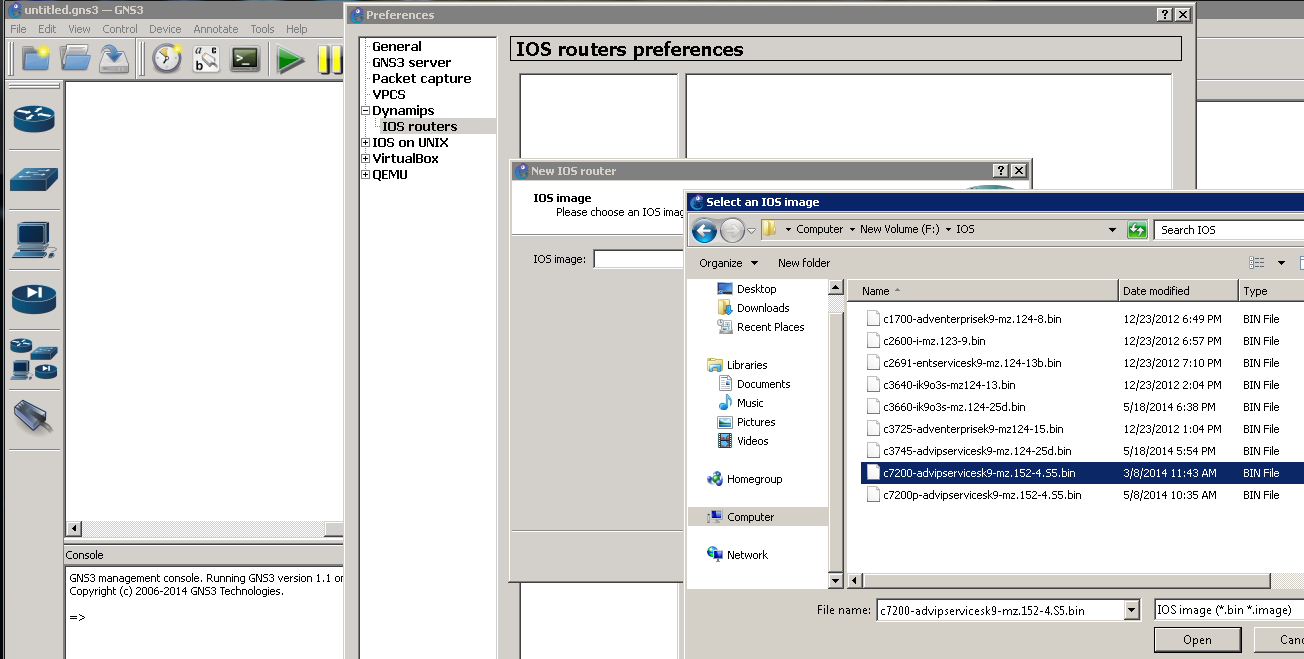
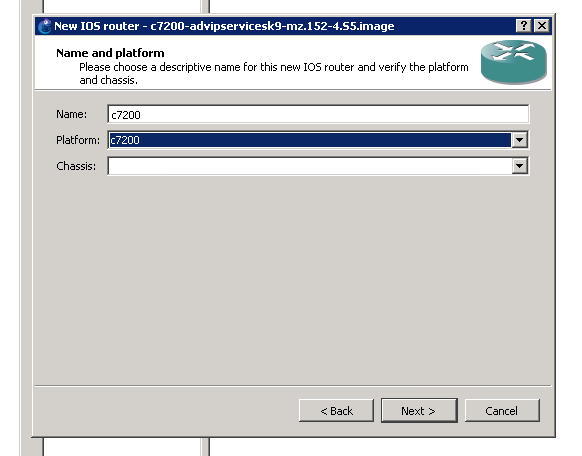
- Select the downloaded IOS.
- Click open. Press next.
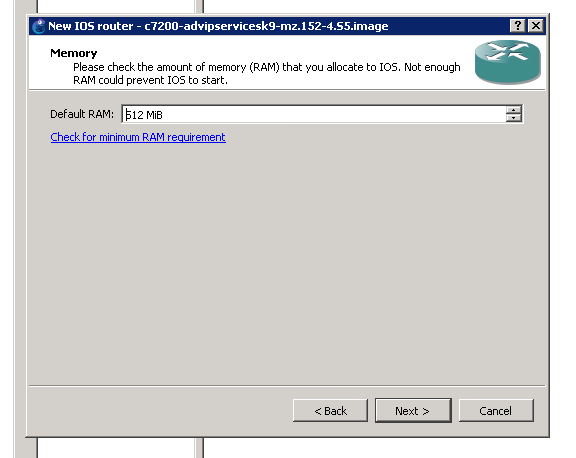
- Keep default RAM to its default.
- Now add any extra interfaces if you want. This is optional and can be added later.
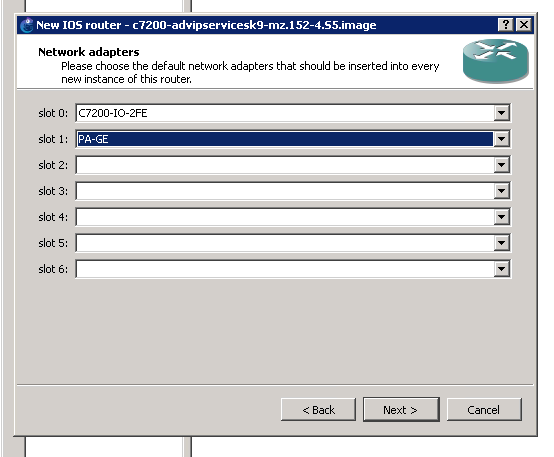
- Click next. Click Idle-PC Finder.
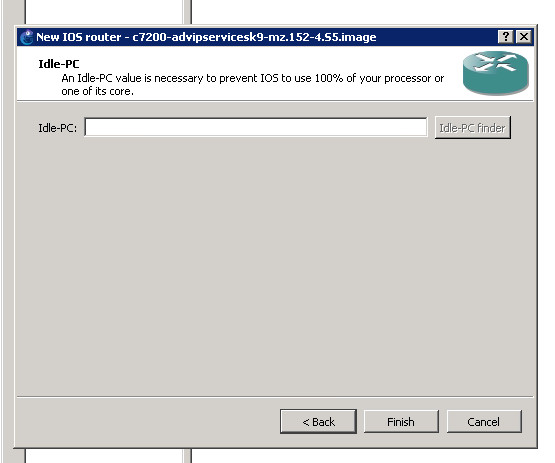
- Wait for some time.
- Click Finish. Press Apply, then Ok.
- Now from the IOS routers list, drag the added Router to the workspace.
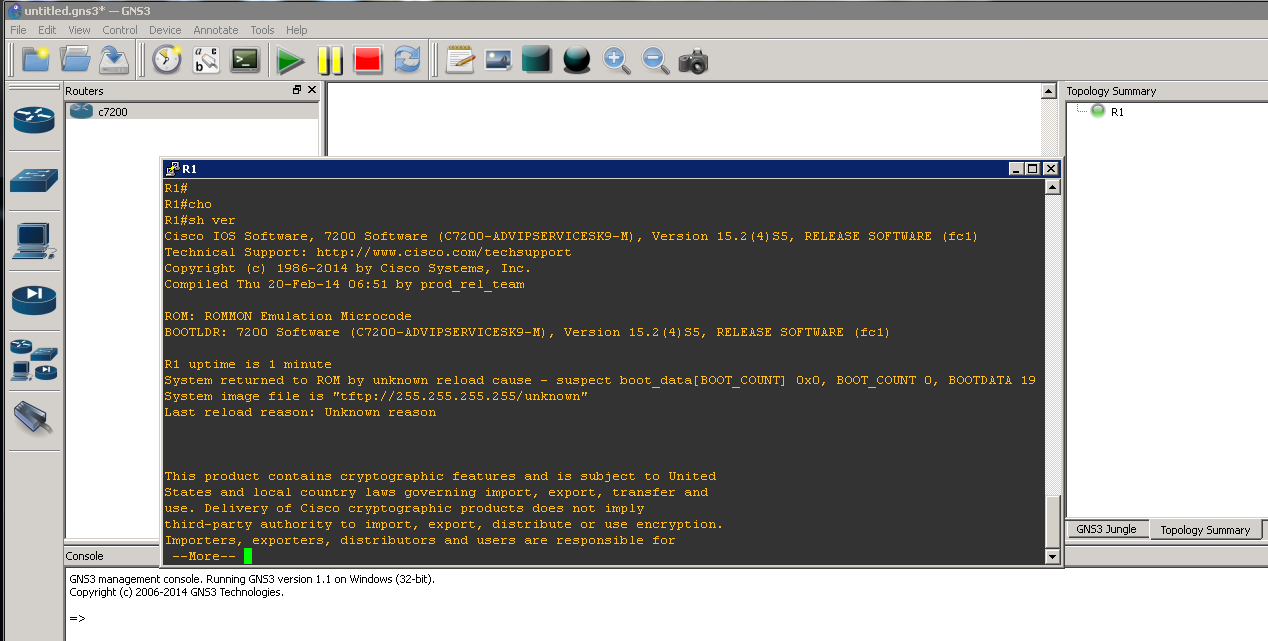
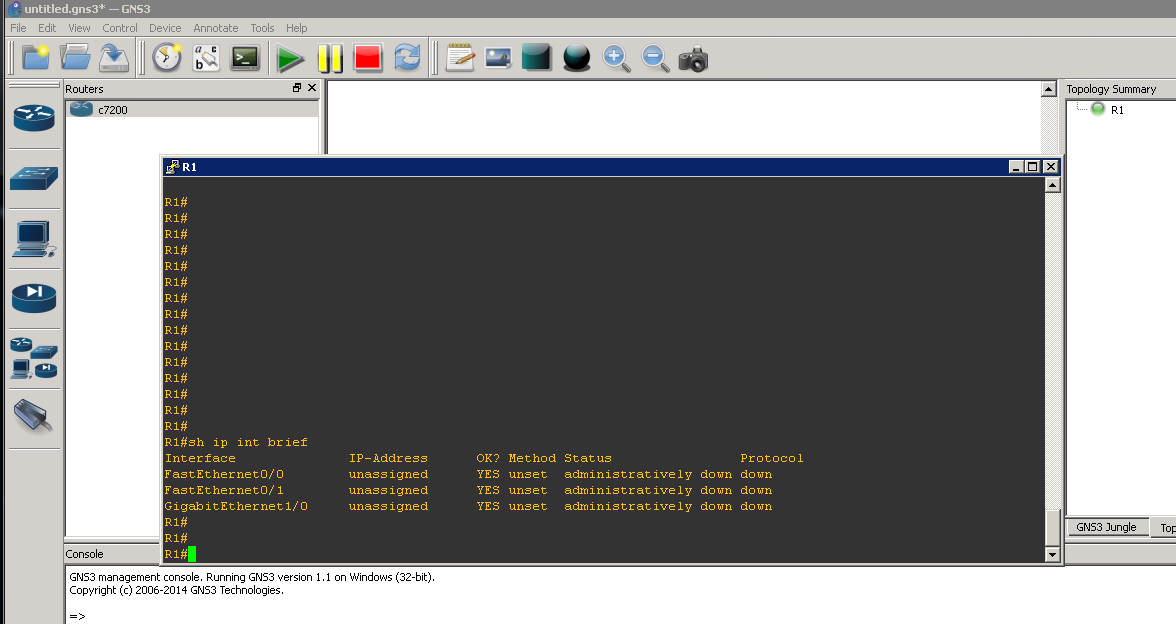
- Right click on it and press start.
- The router will be started. Then you can go to its console and type in the desired IOS commands.