How to use GoDaddy DNS Manager – Not hosted with GoDaddy
Many of use godaddy.com for registering our domain names. But we may not host our domains at godaddy. Many of us host at free webhosts which lacks the features of changing MX records, adding CNAMES and many other advanced DNS configurations. But Godaddy DNS Manager which we get at free of cost after purchasing a domain name from them allows us to use it extensive feature sets for our domains.
Here is the step by step instructions for it:
- First of all what we need to do is login to our godaddy account.
- Click on my account on the top left of the page.

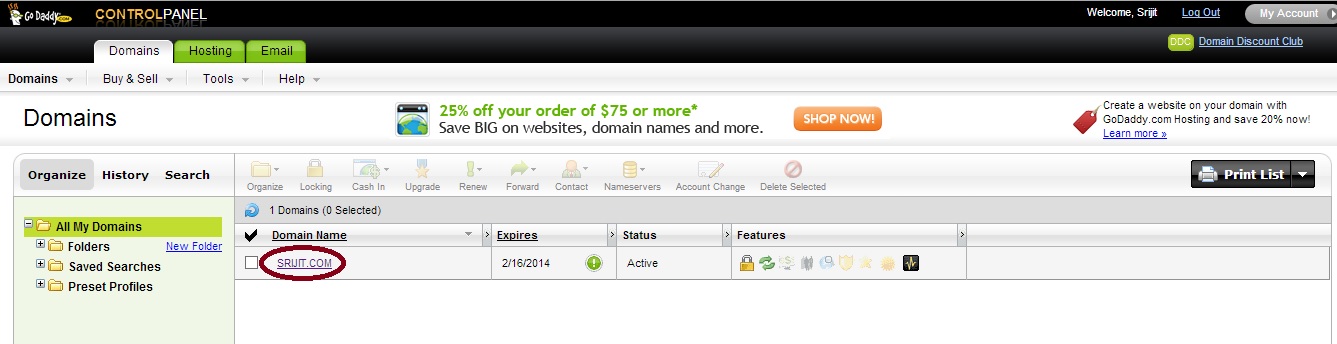
- Click on “Launch” button beside DOMAINS.

- Click on the domain name which you want to edit.

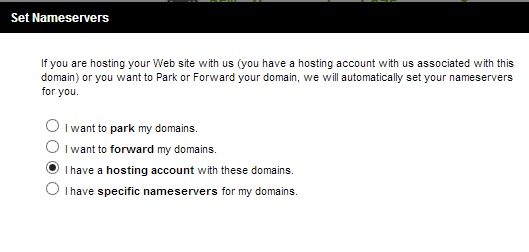
- Then hover over to Nameservers. Click on Set Nameservers.
- Then select ” I have a hosting account with these domains”.
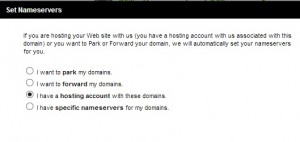
- Then select ” I have specific nameservers for my domains” and see the nameservers of godaddy (*.domaincontrol.com).

- Click Ok.
- Now scroll down and find DNS Manager. Then click on launch.

- This is the main section of DNS Manager and we just need to add proper record here which may be A, CNAME or MX records.
- Suppose you are using a free host like 000webhost etc. You will receive A record for your hosting. Just copy that IP address.
- Under A records section, click quick add. Under host put @ symbol. Points to -> Paste IP address copied previously. TTL -> 1 hour.
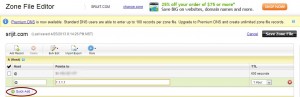
- Finally Click on “Save Zone File” to save your configurations.


That’s it. You have now configured your domain with Godaddy DNS Manager hosted at 3rd party web host.
For any queries, post a comment below.