This tutorial will help you setup your CCNA, CCNP or CCIE Security Lab with Cisco ASA 8.4 which is currently supported by the latest version of GNS3.
- Download the source files here.
- Extract them and place them in the GNS3 images directory.
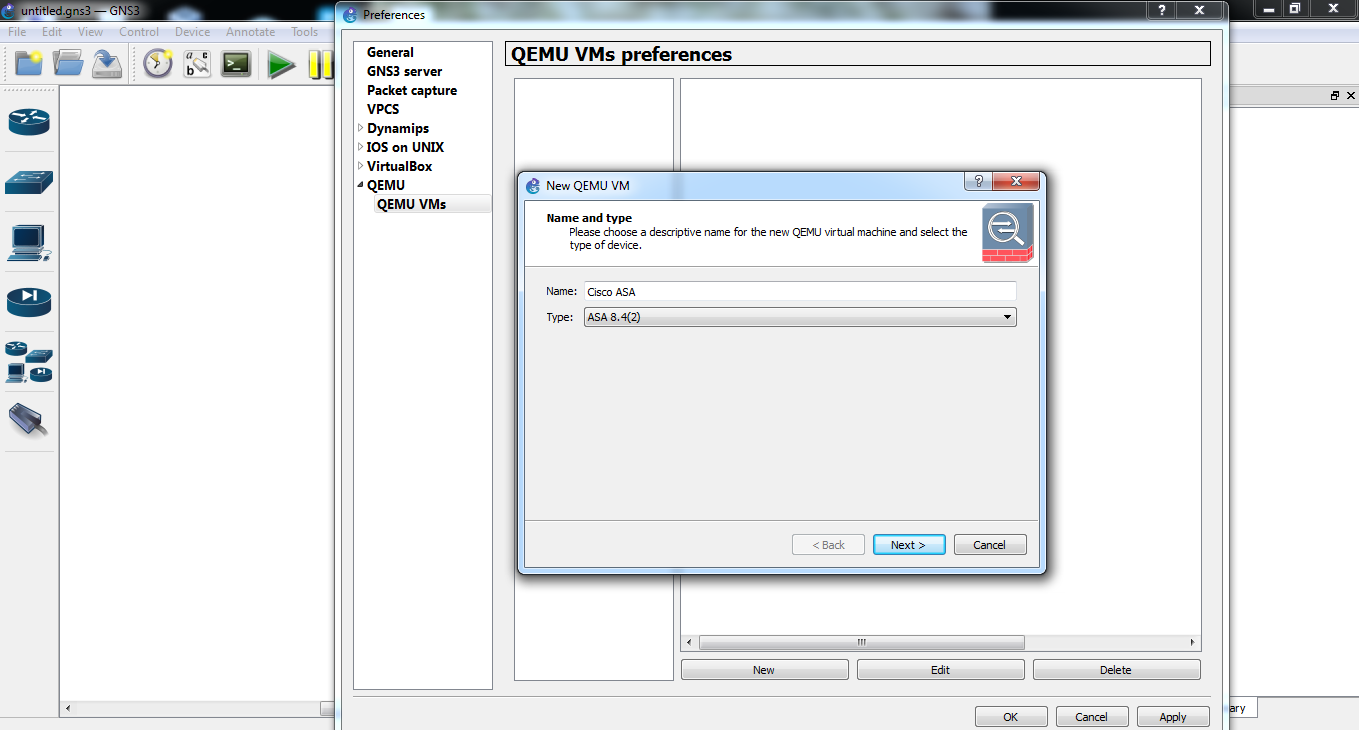
For example : C:\Users\<user name>\GNS3\images\QEMU\ - Go to Edit -> Preference -> QEMU -> QEMU VMs
- Click New -> Give Name -> Set type
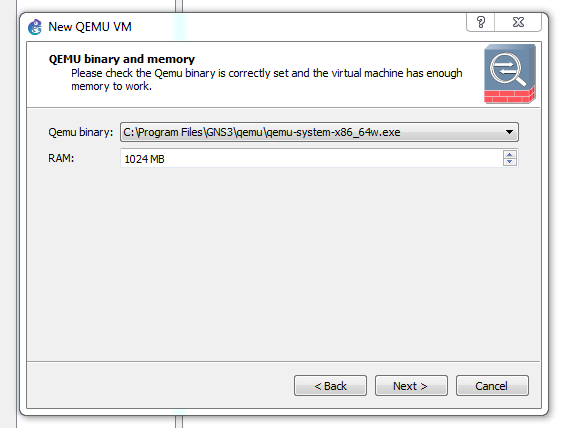
- Assign RAM (>=1024 MB)
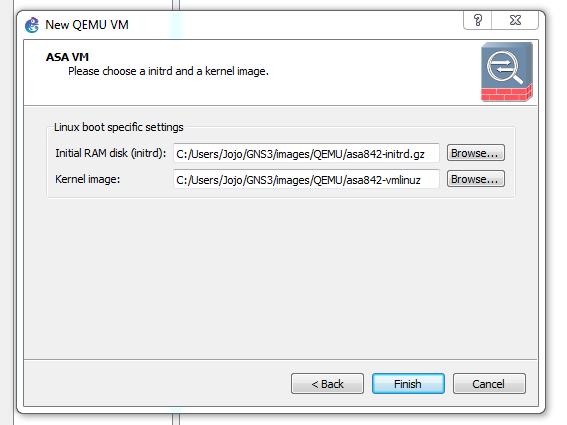
- Select the boot files.
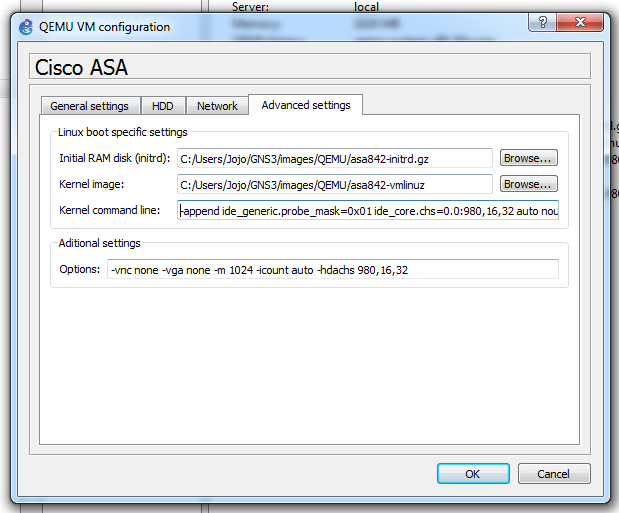
Kernel Command Line :no-hlt -append ide_generic.probe_mask=0x01 ide_core.chs=0.0:980,16,32 auto nousb console=ttyS0,9600 bigphysarea=65536
Options :
-vnc none -vga none -m 1024 -icount auto -hdachs 980,16,32
- Press Ok. Then Drag Cisco ASA to workspace.
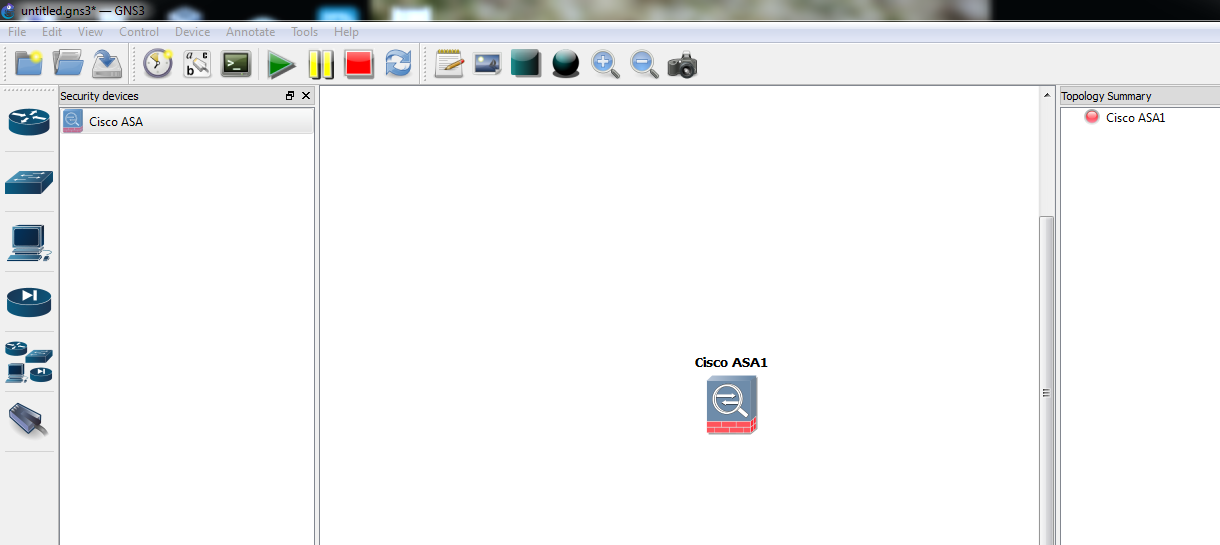
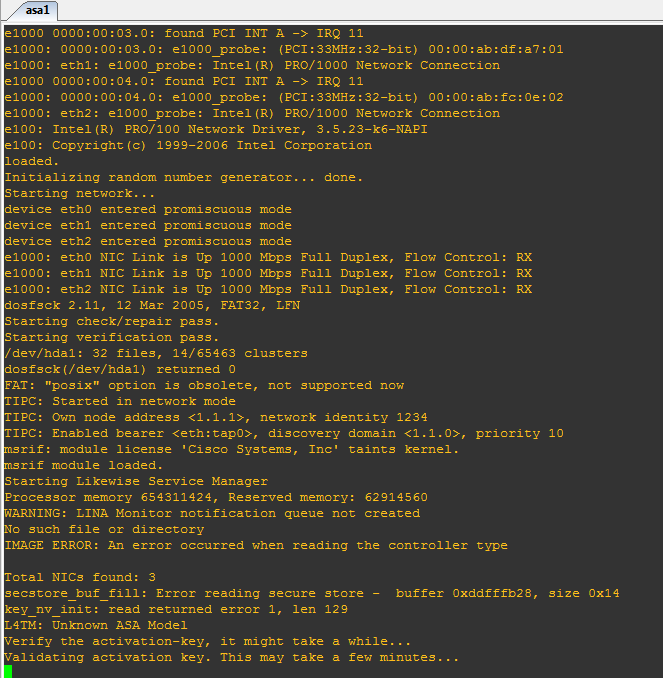
- Right click on it. Click start.
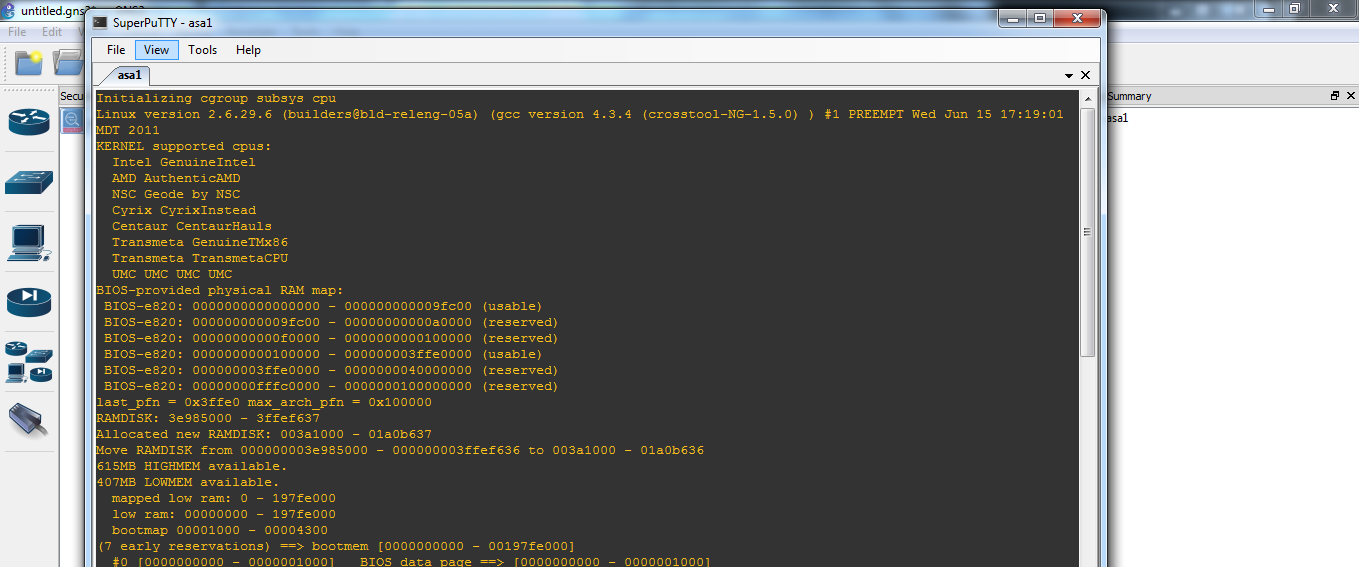
- Go to console view. If everything is configured correctly it will start booting. If anyone is curious to see the boot sequence click here.
- Default license is accepted.
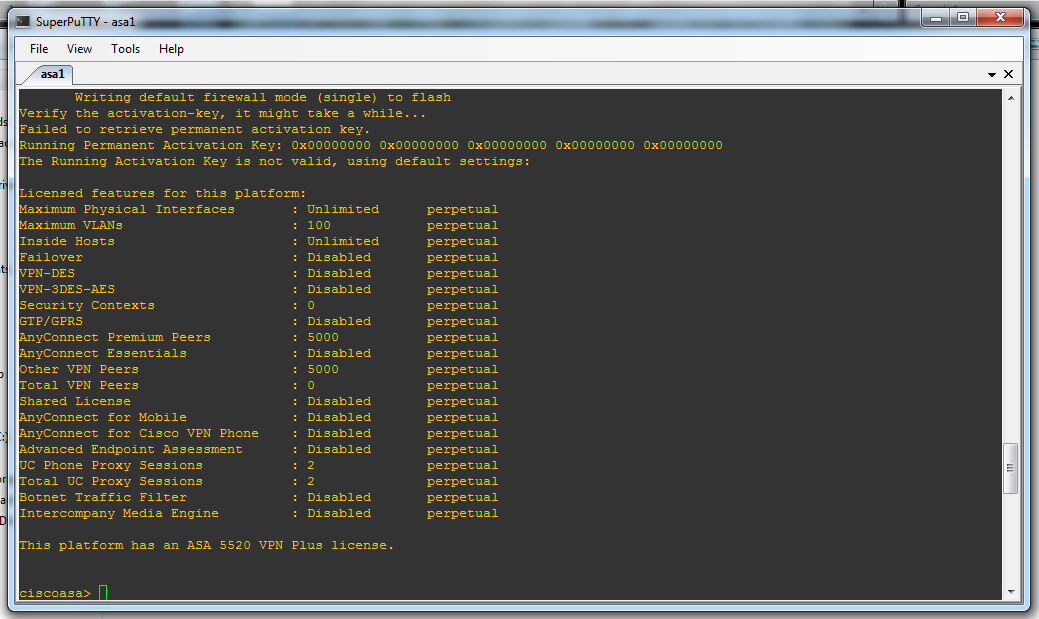
- Issue the following commands sequentially.
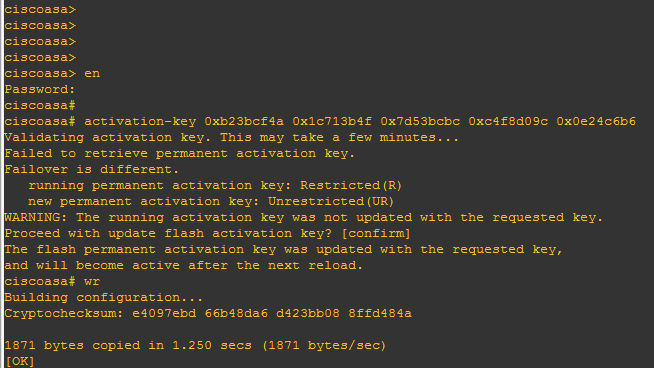
en
activation-key 0xb23bcf4a 0x1c713b4f 0x7d53bcbc 0xc4f8d09c 0x0e24c6b6
wr
reload
- This will take 15-20 minutes roughly. It could take more time.
- During the reboot, it will take some time during key validation phase. Nothing to be worried. Wait for atleast 15-20 mins.
- Now your ASA will be licensed properly.
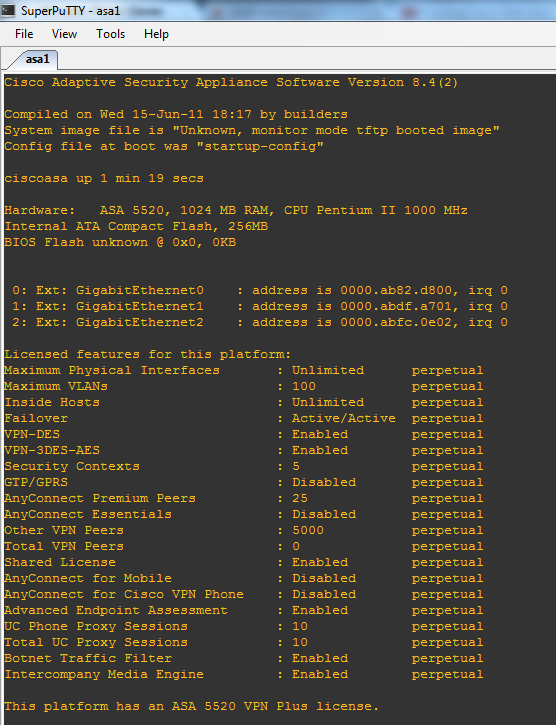
So now you have a full fledged Cisco ASA Firewall running inside your computer.